


Installing a wooden pool is a fantastic way to enhance your backyard and create a relaxing oasis for your family and friends. Wooden pools offer a natural, aesthetic appeal that blends beautifully with outdoor spaces, while also being durable and eco-friendly. If you’re considering installing a wooden pool, this step-by-step guide will walk you through the process, helping you understand each phase of installation and what to expect.
Step 1: Planning and Preparation
Before diving into the installation, proper planning is crucial. Here are the key steps involved:
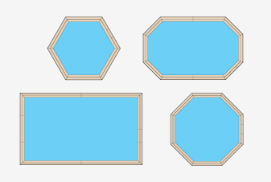
- Choose the Right Location: Select a flat, stable area in your backyard that gets plenty of sunlight. Make sure the location is away from trees (to avoid debris) and check for underground utilities. You’ll also need to ensure there’s enough space for circulation around the pool.
- Check Local Regulations: Some areas may require building permits or have regulations regarding pool placement. Be sure to consult your local authorities or homeowner association to comply with any necessary guidelines.
- Prepare the Ground: Clear the area of any vegetation, debris, or obstacles. If necessary, level the ground to create a solid foundation. This is one of the most important steps in ensuring a long-lasting, stable pool installation.

Ground preparation for the concrete slab
Step 2: Base and Groundwork
A solid foundation is key to a successful pool installation. Once the site is prepared, you can move on to creating the pool’s base:
- Lay the Foundation: Depending on the pool type, you may need to install a concrete slab, sand, or gravel base. This layer provides stability and helps with drainage. For many wooden pools, a compacted sand or gravel layer is sufficient to prevent shifting and settling over time.
- Prepare for Steel Supports (if required): Some pool models require installing support brackets in the concrete slab. If your pool includes such reinforcements, this step should be completed before proceeding further.
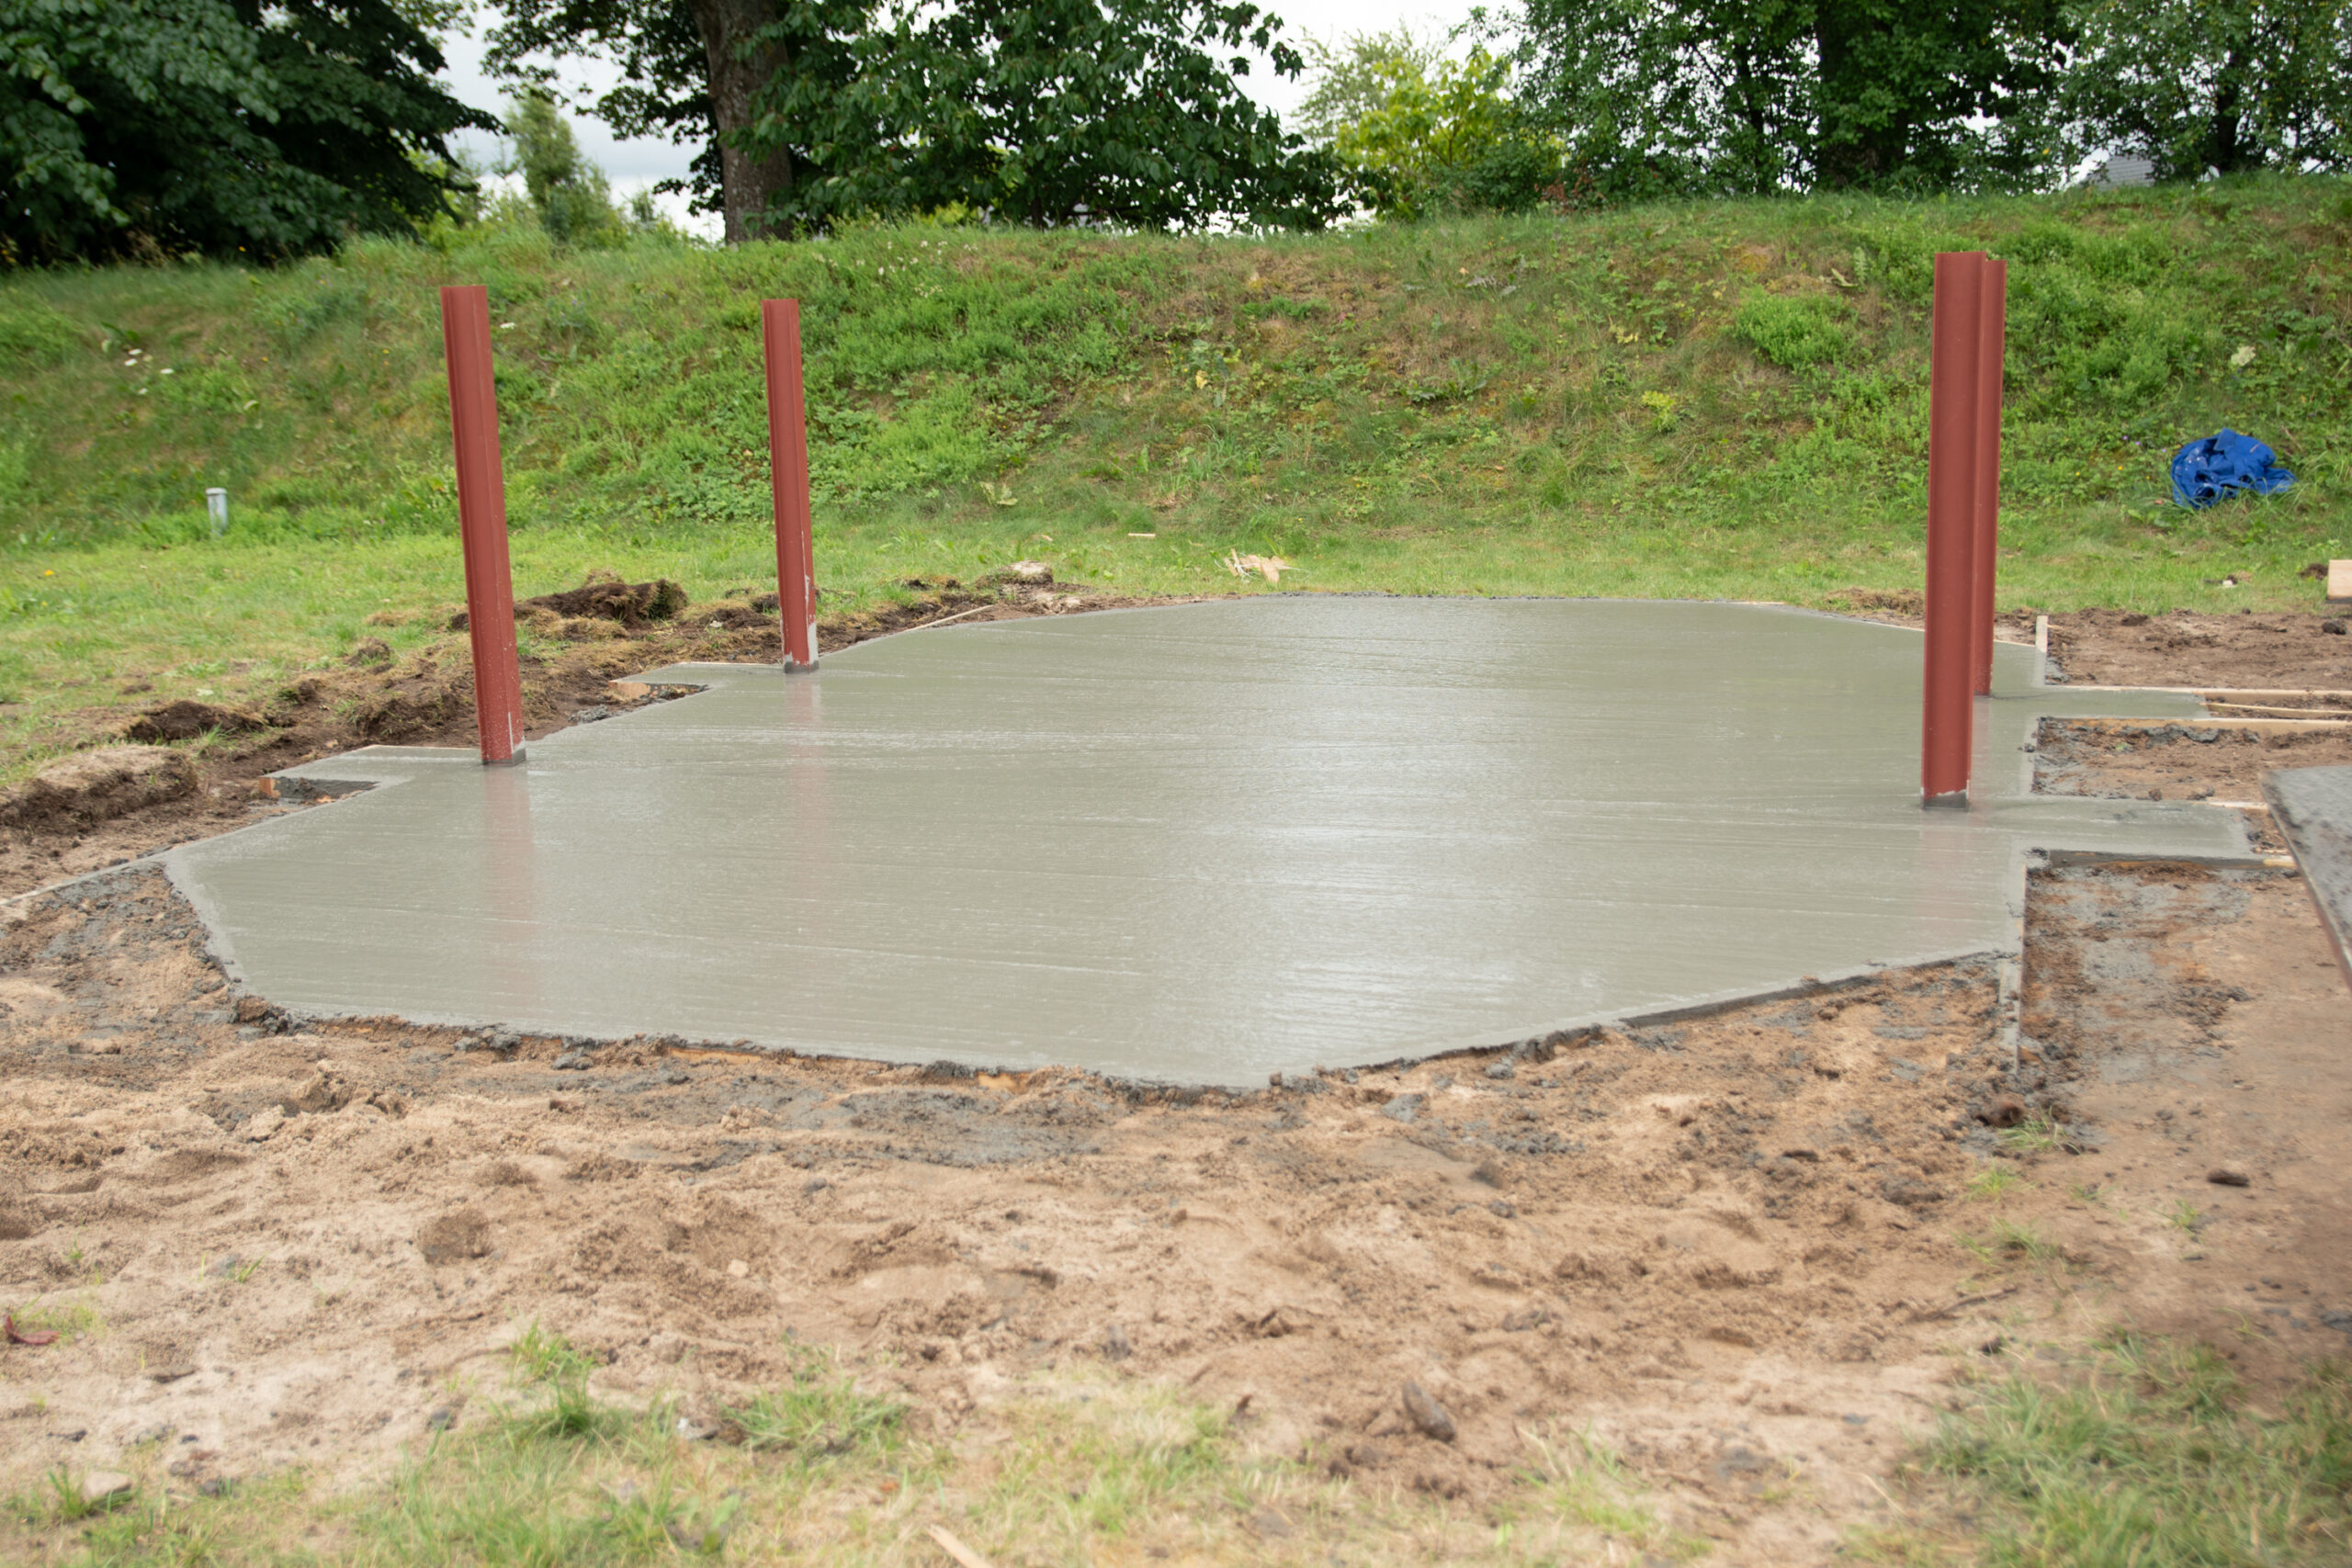
Preparation of the concrete slab and installation of I-Beam supports
Step 3: Assembling the Wooden Frame
With the foundation in place, it’s time to build the wooden structure of the pool:
- Unpack and Inspect Materials: Ensure that all components are in good condition. Familiarize yourself with the assembly instructions provided by the manufacturer.
- Assemble the Structure: Begin by assembling the wooden elements, which will form the pool’s frame. Wooden pools come with pre-cut elements that are easy to connect. Follow the provided instructions to properly align and secure the structure.
- Install the Support Beams: After assembling the walls, install the vertical and horizontal wooden support beams. These beams will reinforce the structure, ensuring stability and durability.
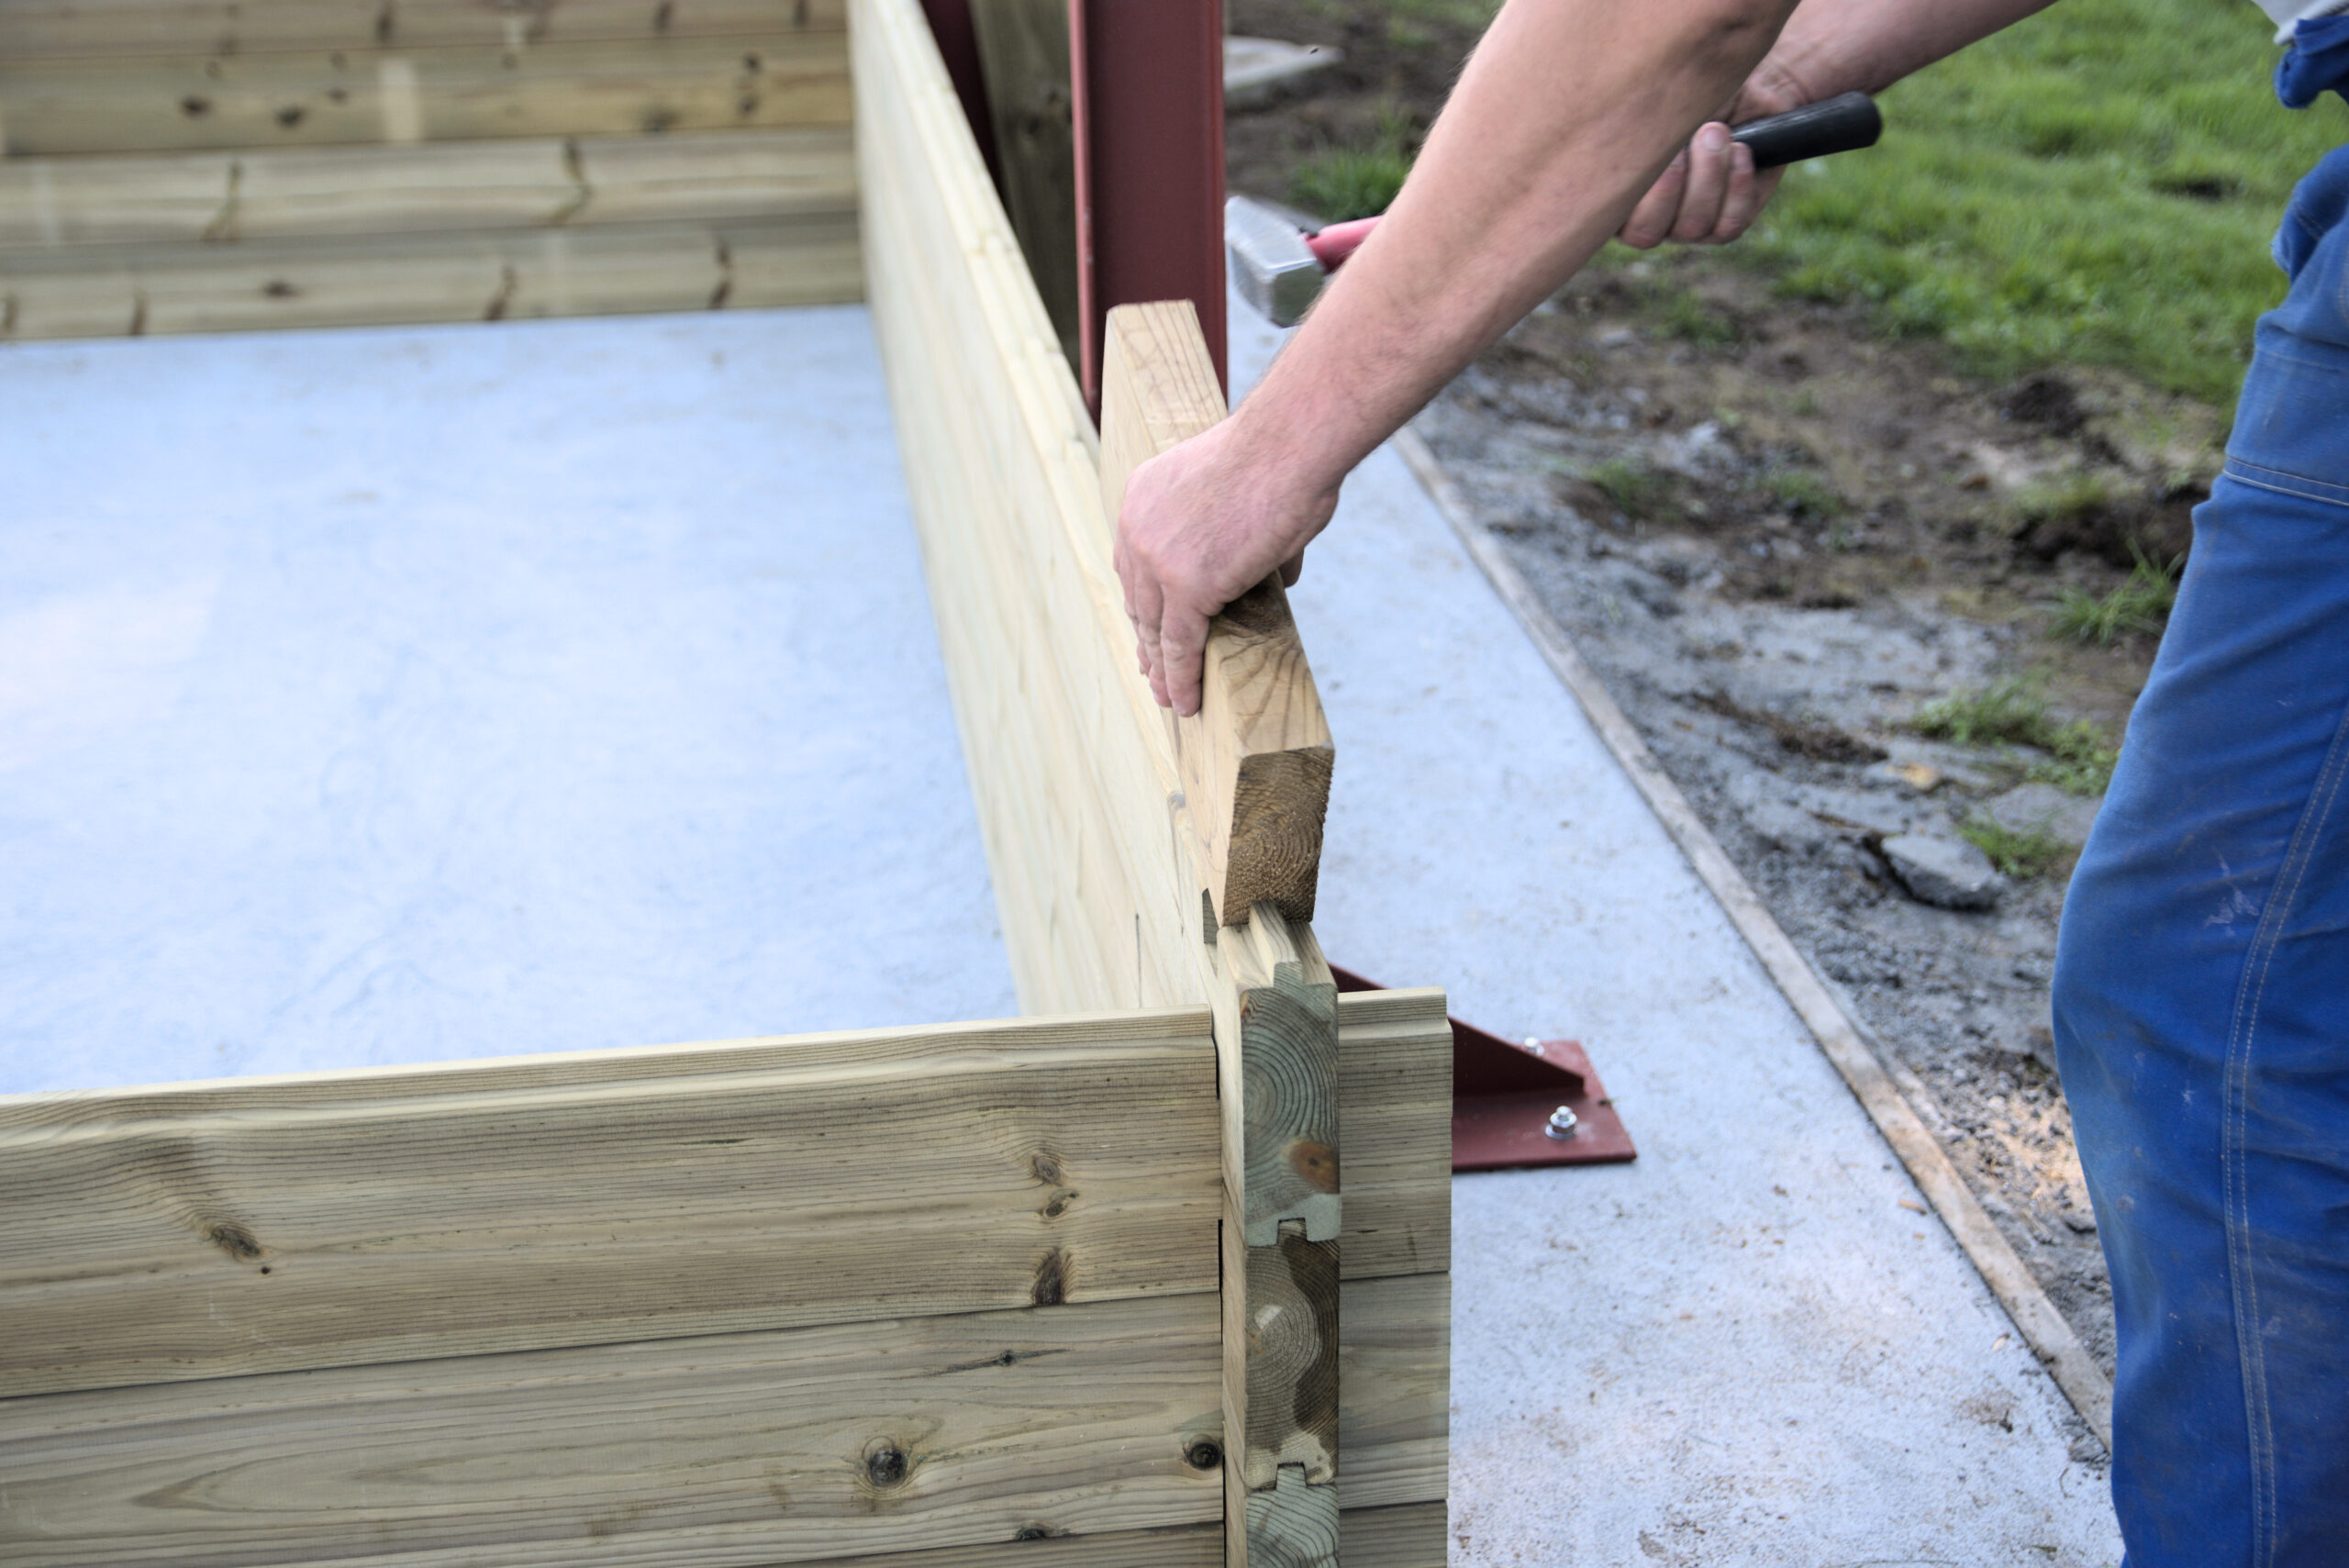
Assembly of the wooden structure using a wooden block for protection
Step 4: Installing the Pool Liner
Once the wooden frame is assembled, the next step is to install the geotextile and the pool liner. The liner is essential for holding the water and protecting the wood from moisture damage:
- Install the Geotextile: Lay a protective geotextile layer inside the pool structure, covering both the base and walls. This layer acts as a barrier between the pool and the ground, preventing punctures and protecting the liner from direct contact with the wooden frame.
- Smooth the Liner: Carefully unroll the pool liner inside the frame, ensuring that it fits evenly without wrinkles or folds. A smooth liner prevents leaks and creates a clean look.
- Secure the Liner: Attach the liner to the pool walls, following the manufacturer’s instructions. Pool liners come with profiles for easy attachment to the top of the wooden structure.
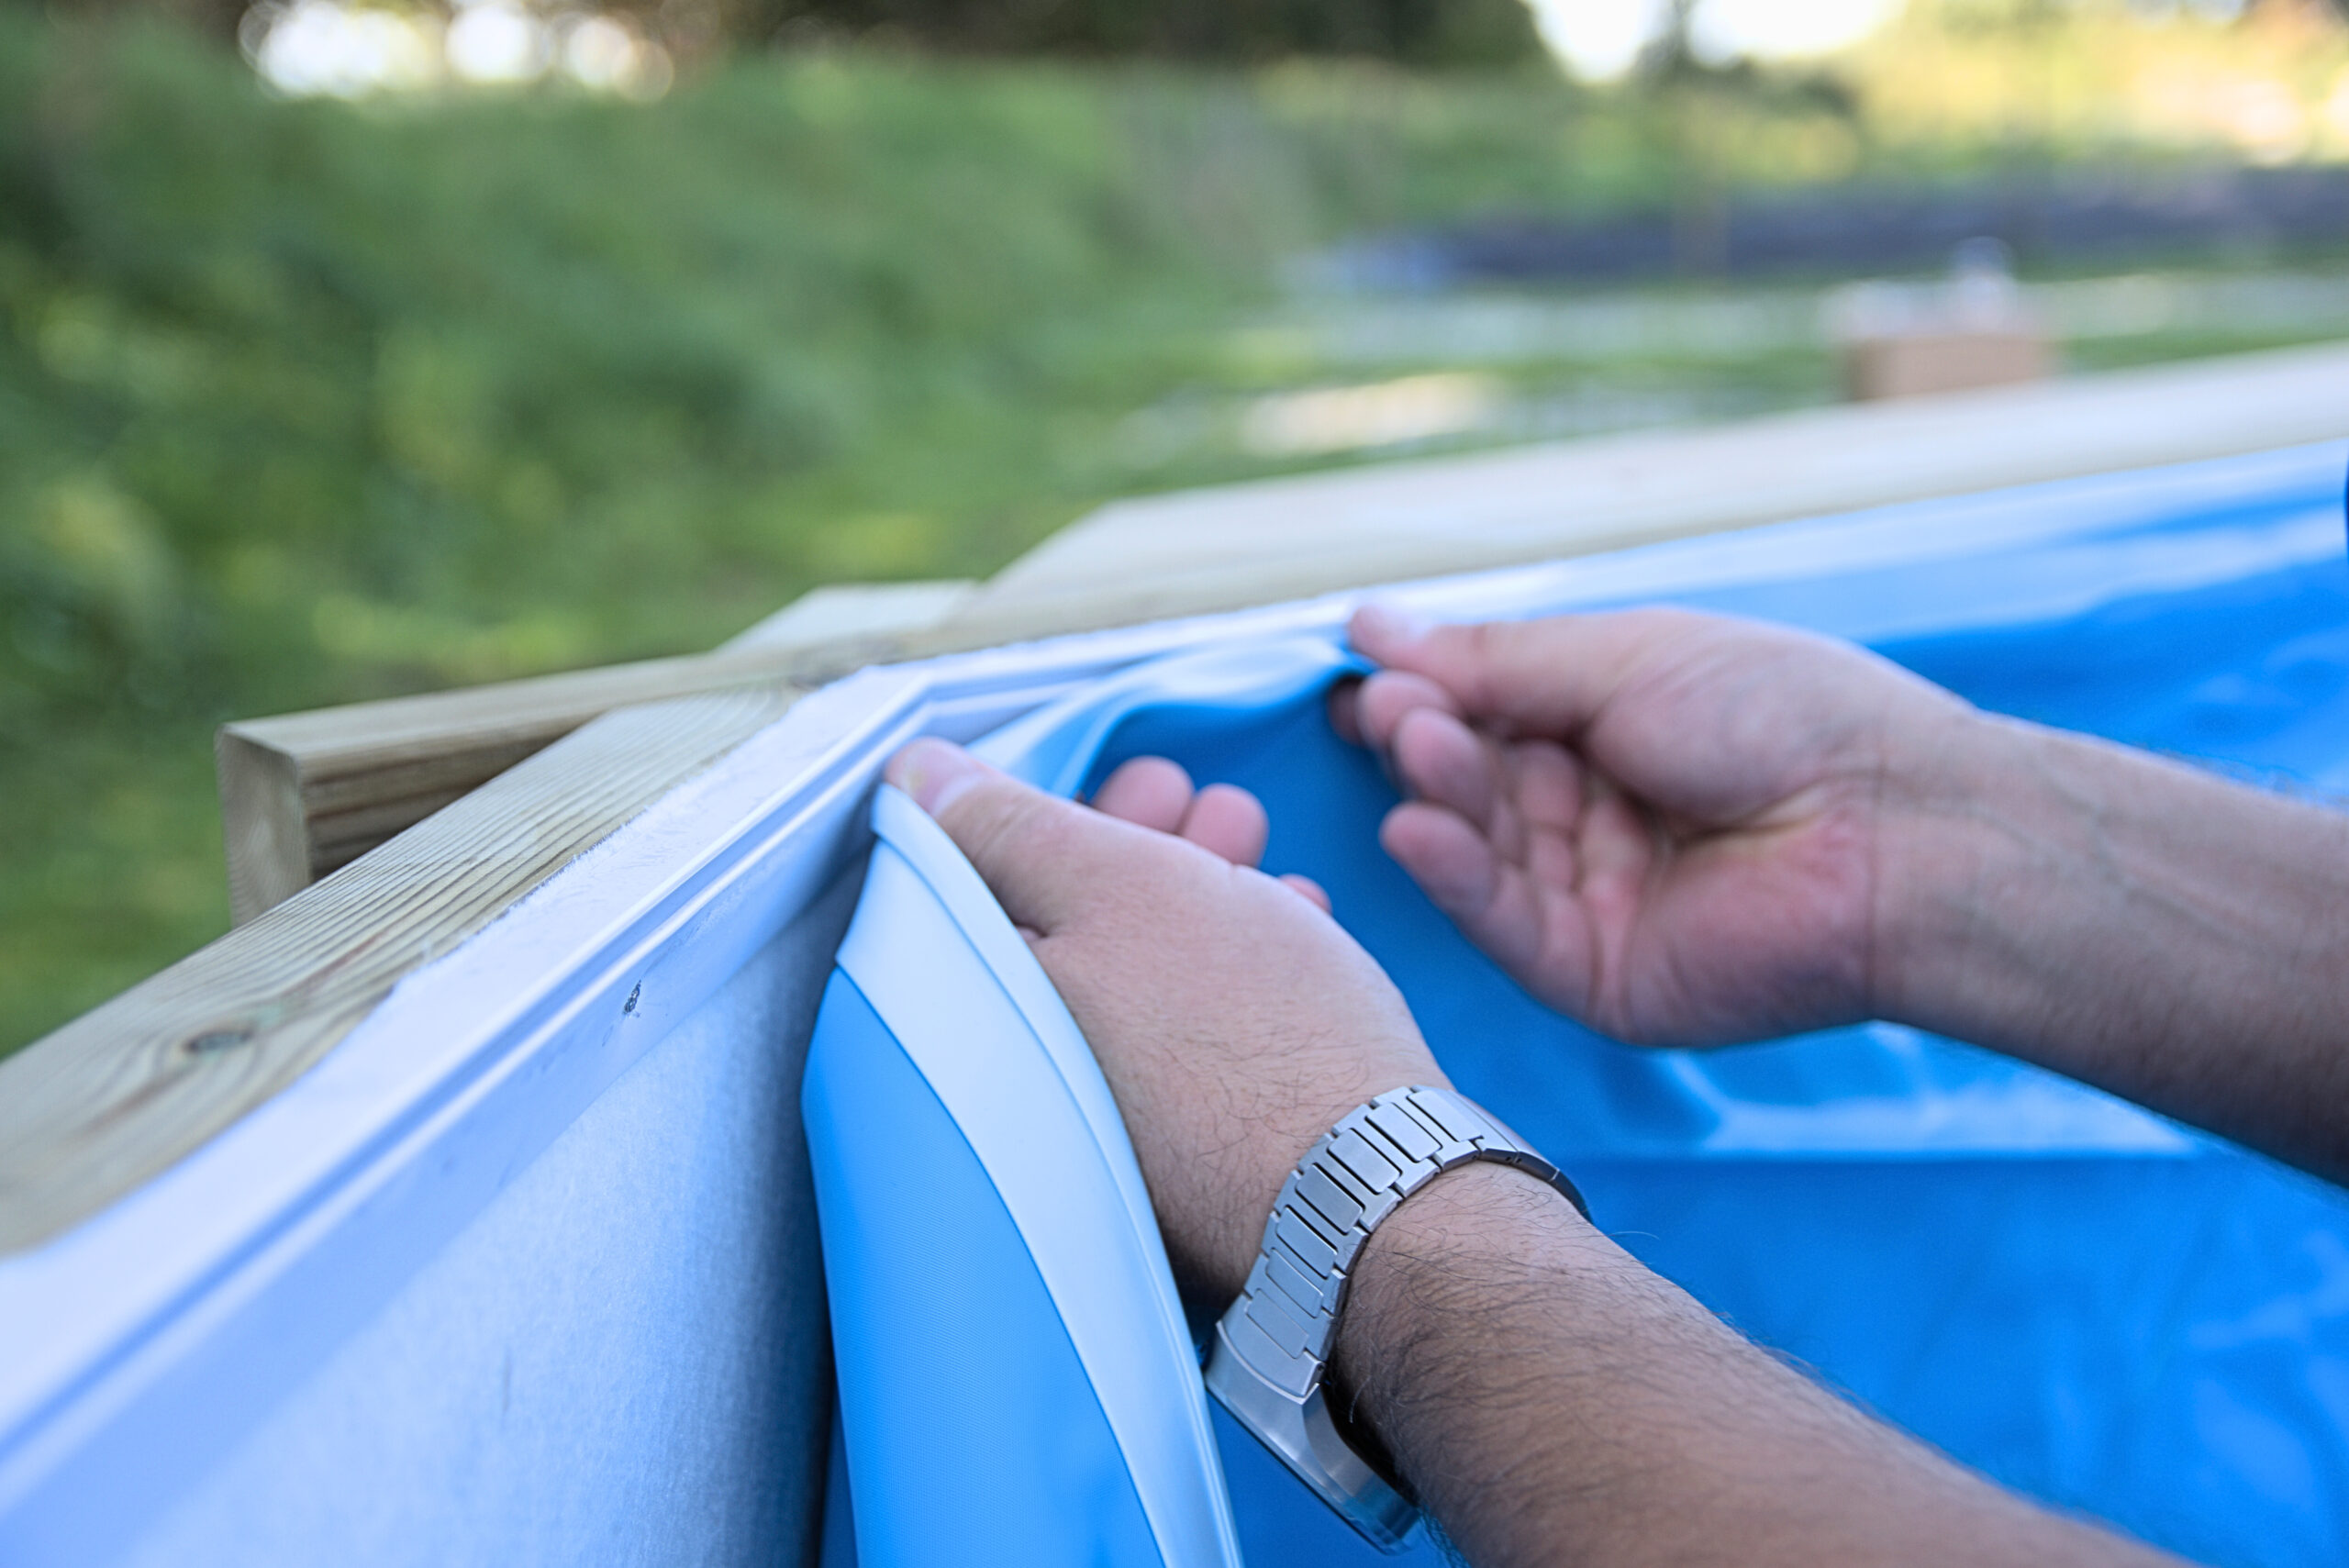
Installation of the pool liner using specialized profiles
Step 5: Plumbing and Filtration System
Installing the pool’s plumbing and filtration system is essential for maintaining clean and clear water. Proper filtration ensures that your pool remains safe and enjoyable to use.
- Install the Skimmer and Return Inlets: Cut small openings in the pool liner to install the skimmer and return inlets, which will circulate water through the filtration system.
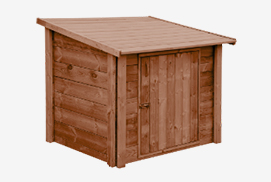
- Set Up the Pump and Filter: Connect the pool’s pump and filter system, ensuring all hoses are securely attached. Position the pump and filter in a convenient, dry location near the pool.
- Test the System: Once connected, run the filtration system to check for any leaks or issues. Properly functioning filtration will help keep your pool water crystal clear.

Installation of the skimmer in the designated opening
Step 6: Filling the Pool
With the structure complete and the plumbing system in place, it’s time to fill the pool:
- Gradually Add Water: Begin filling the pool slowly to ensure the liner remains in place and the walls stay aligned. As the pool fills, check the liner for any wrinkles or shifts, smoothing them out as needed.
- Monitor Water Level: Fill the pool to the recommended water level, usually just below the skimmer opening. Avoid overfilling, as this could strain the pool’s structure and lead to unnecessary water waste.
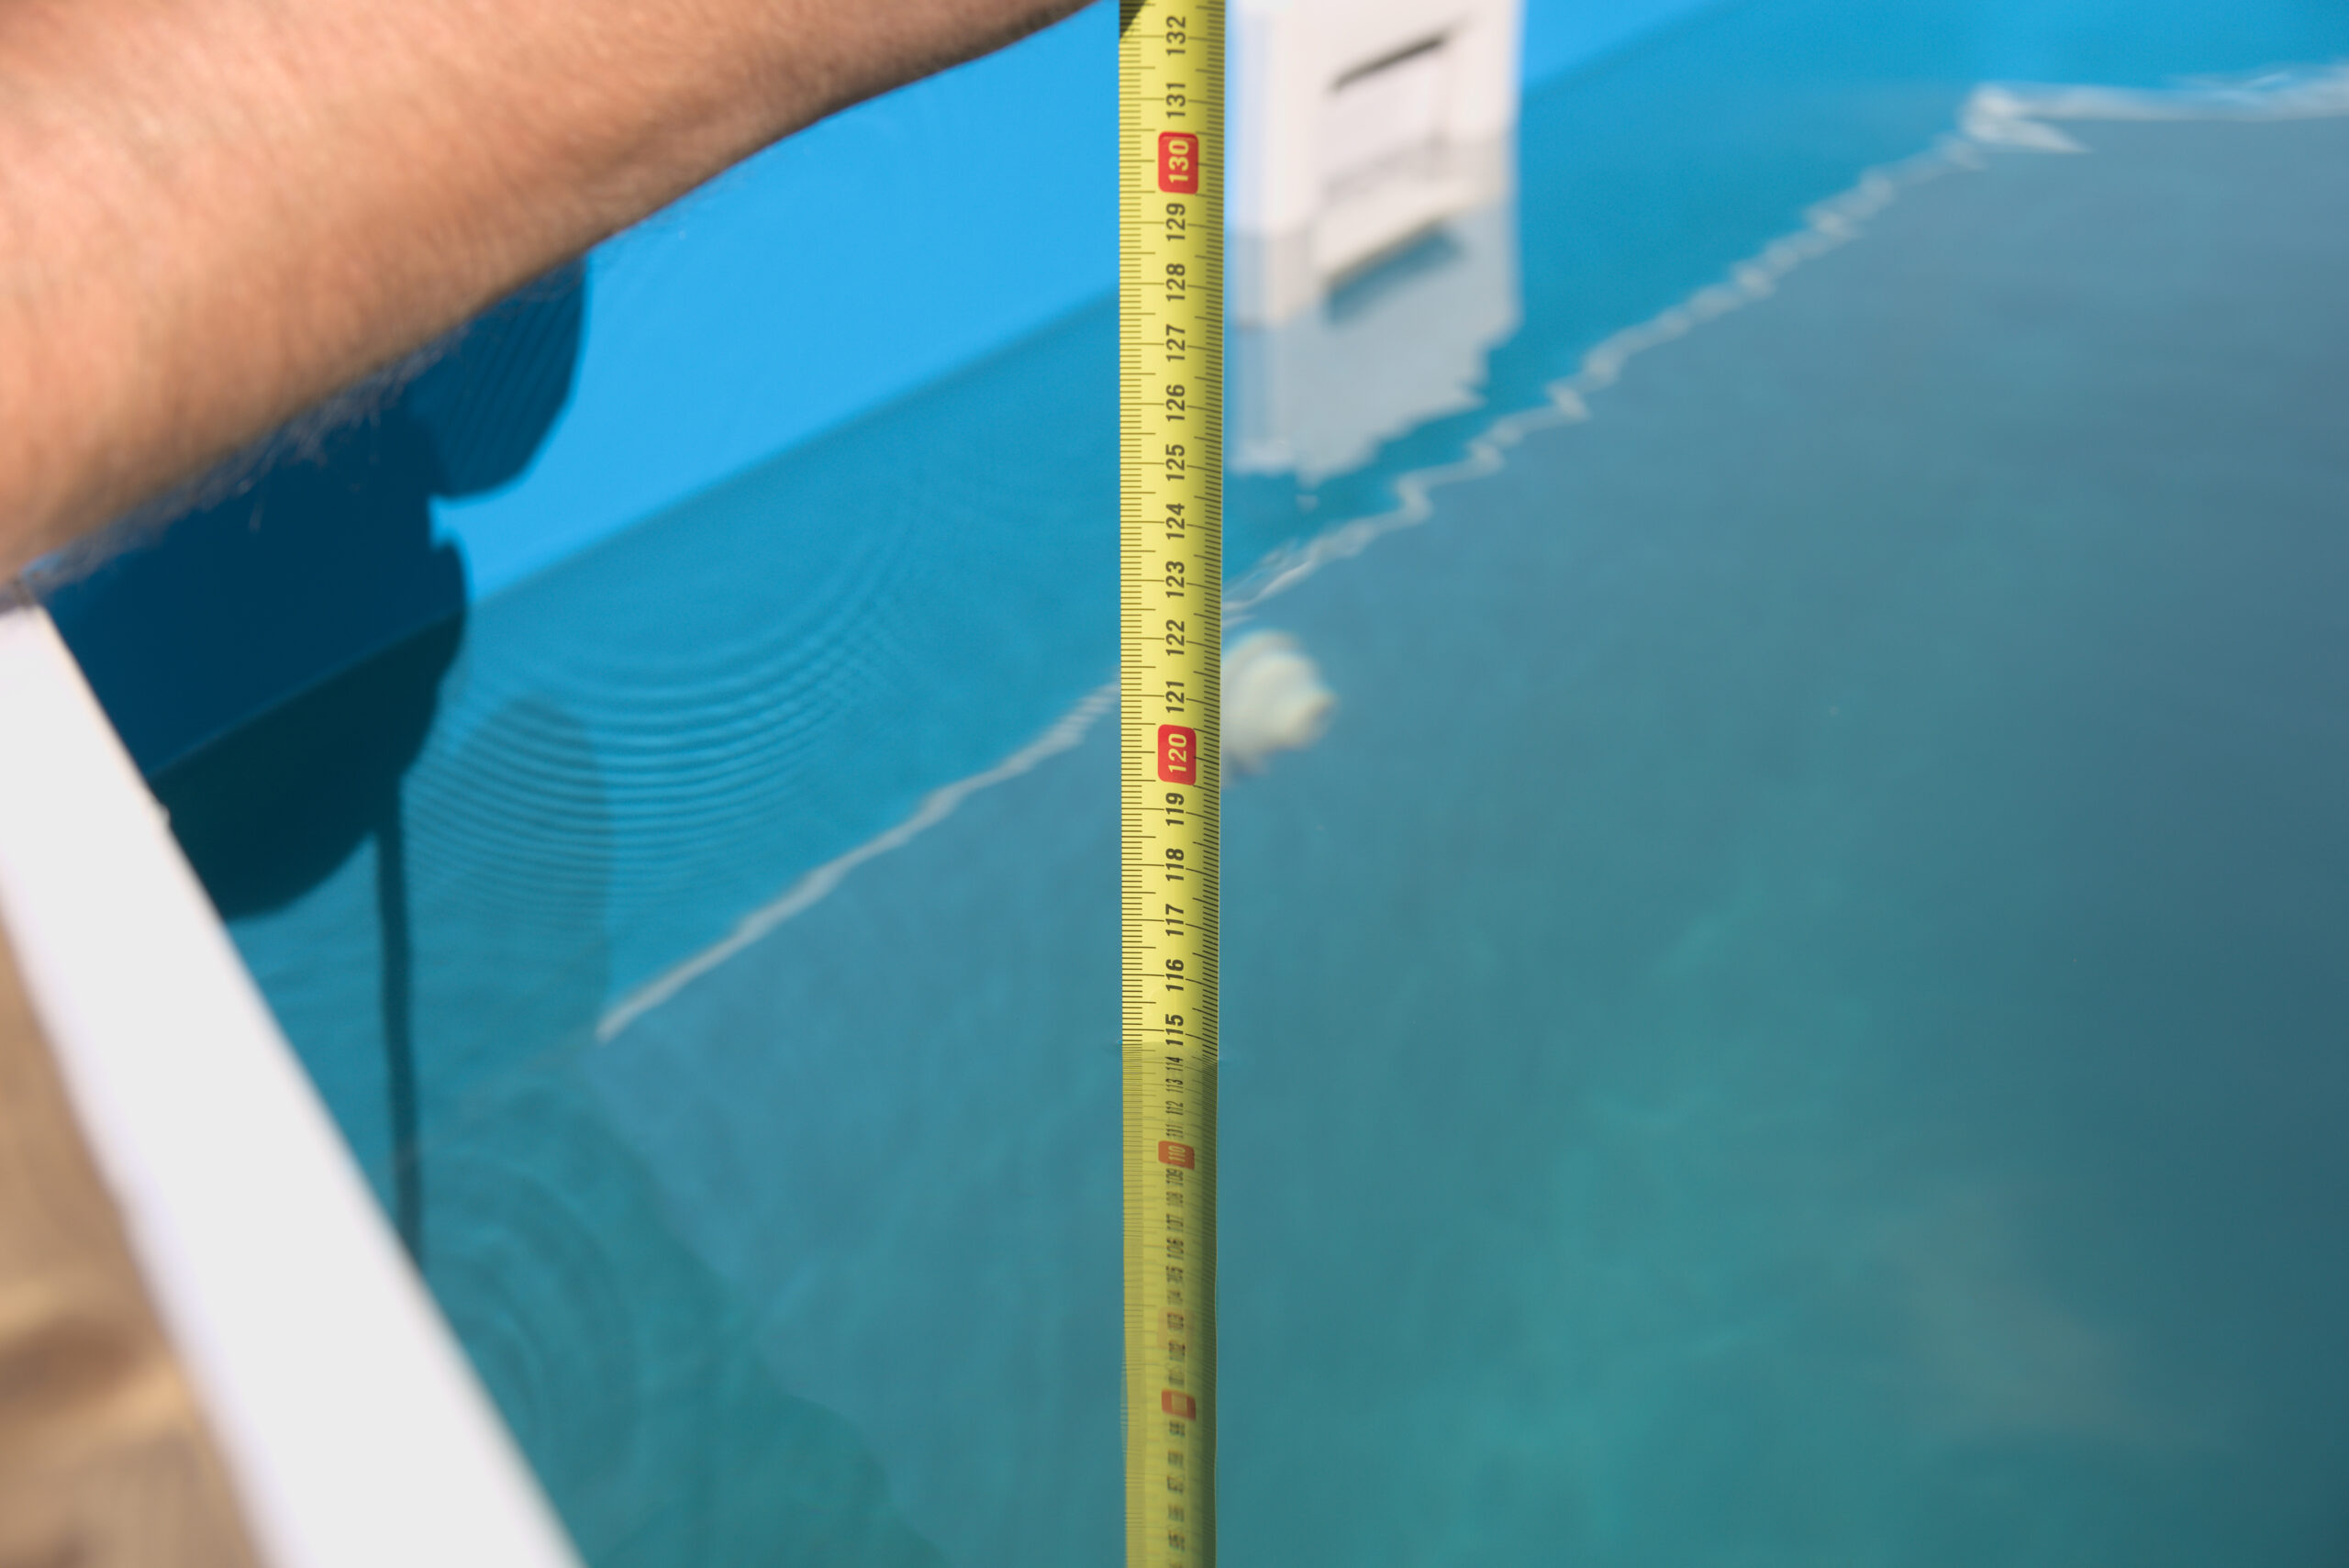
Filling the pool with water to the specified level
Step 7: Final Touches and Enjoyment
Your wooden pool is now almost ready for use! Before you jump in, take care of these final details:
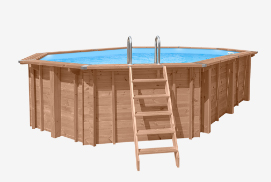
- Install Pool Accessories: Add any final accessories, such as ladders, lights, or pool covers. These enhance both the functionality and safety of your pool.
- Check Water Chemistry: Use a water testing kit to balance the pool’s pH, chlorine, and other chemicals. Proper chemical balance is essential for maintaining clean, safe water.
- Enjoy Your Pool: With everything in place, your wooden pool is ready to provide years of enjoyment. Take a moment to relax and admire your new outdoor oasis!
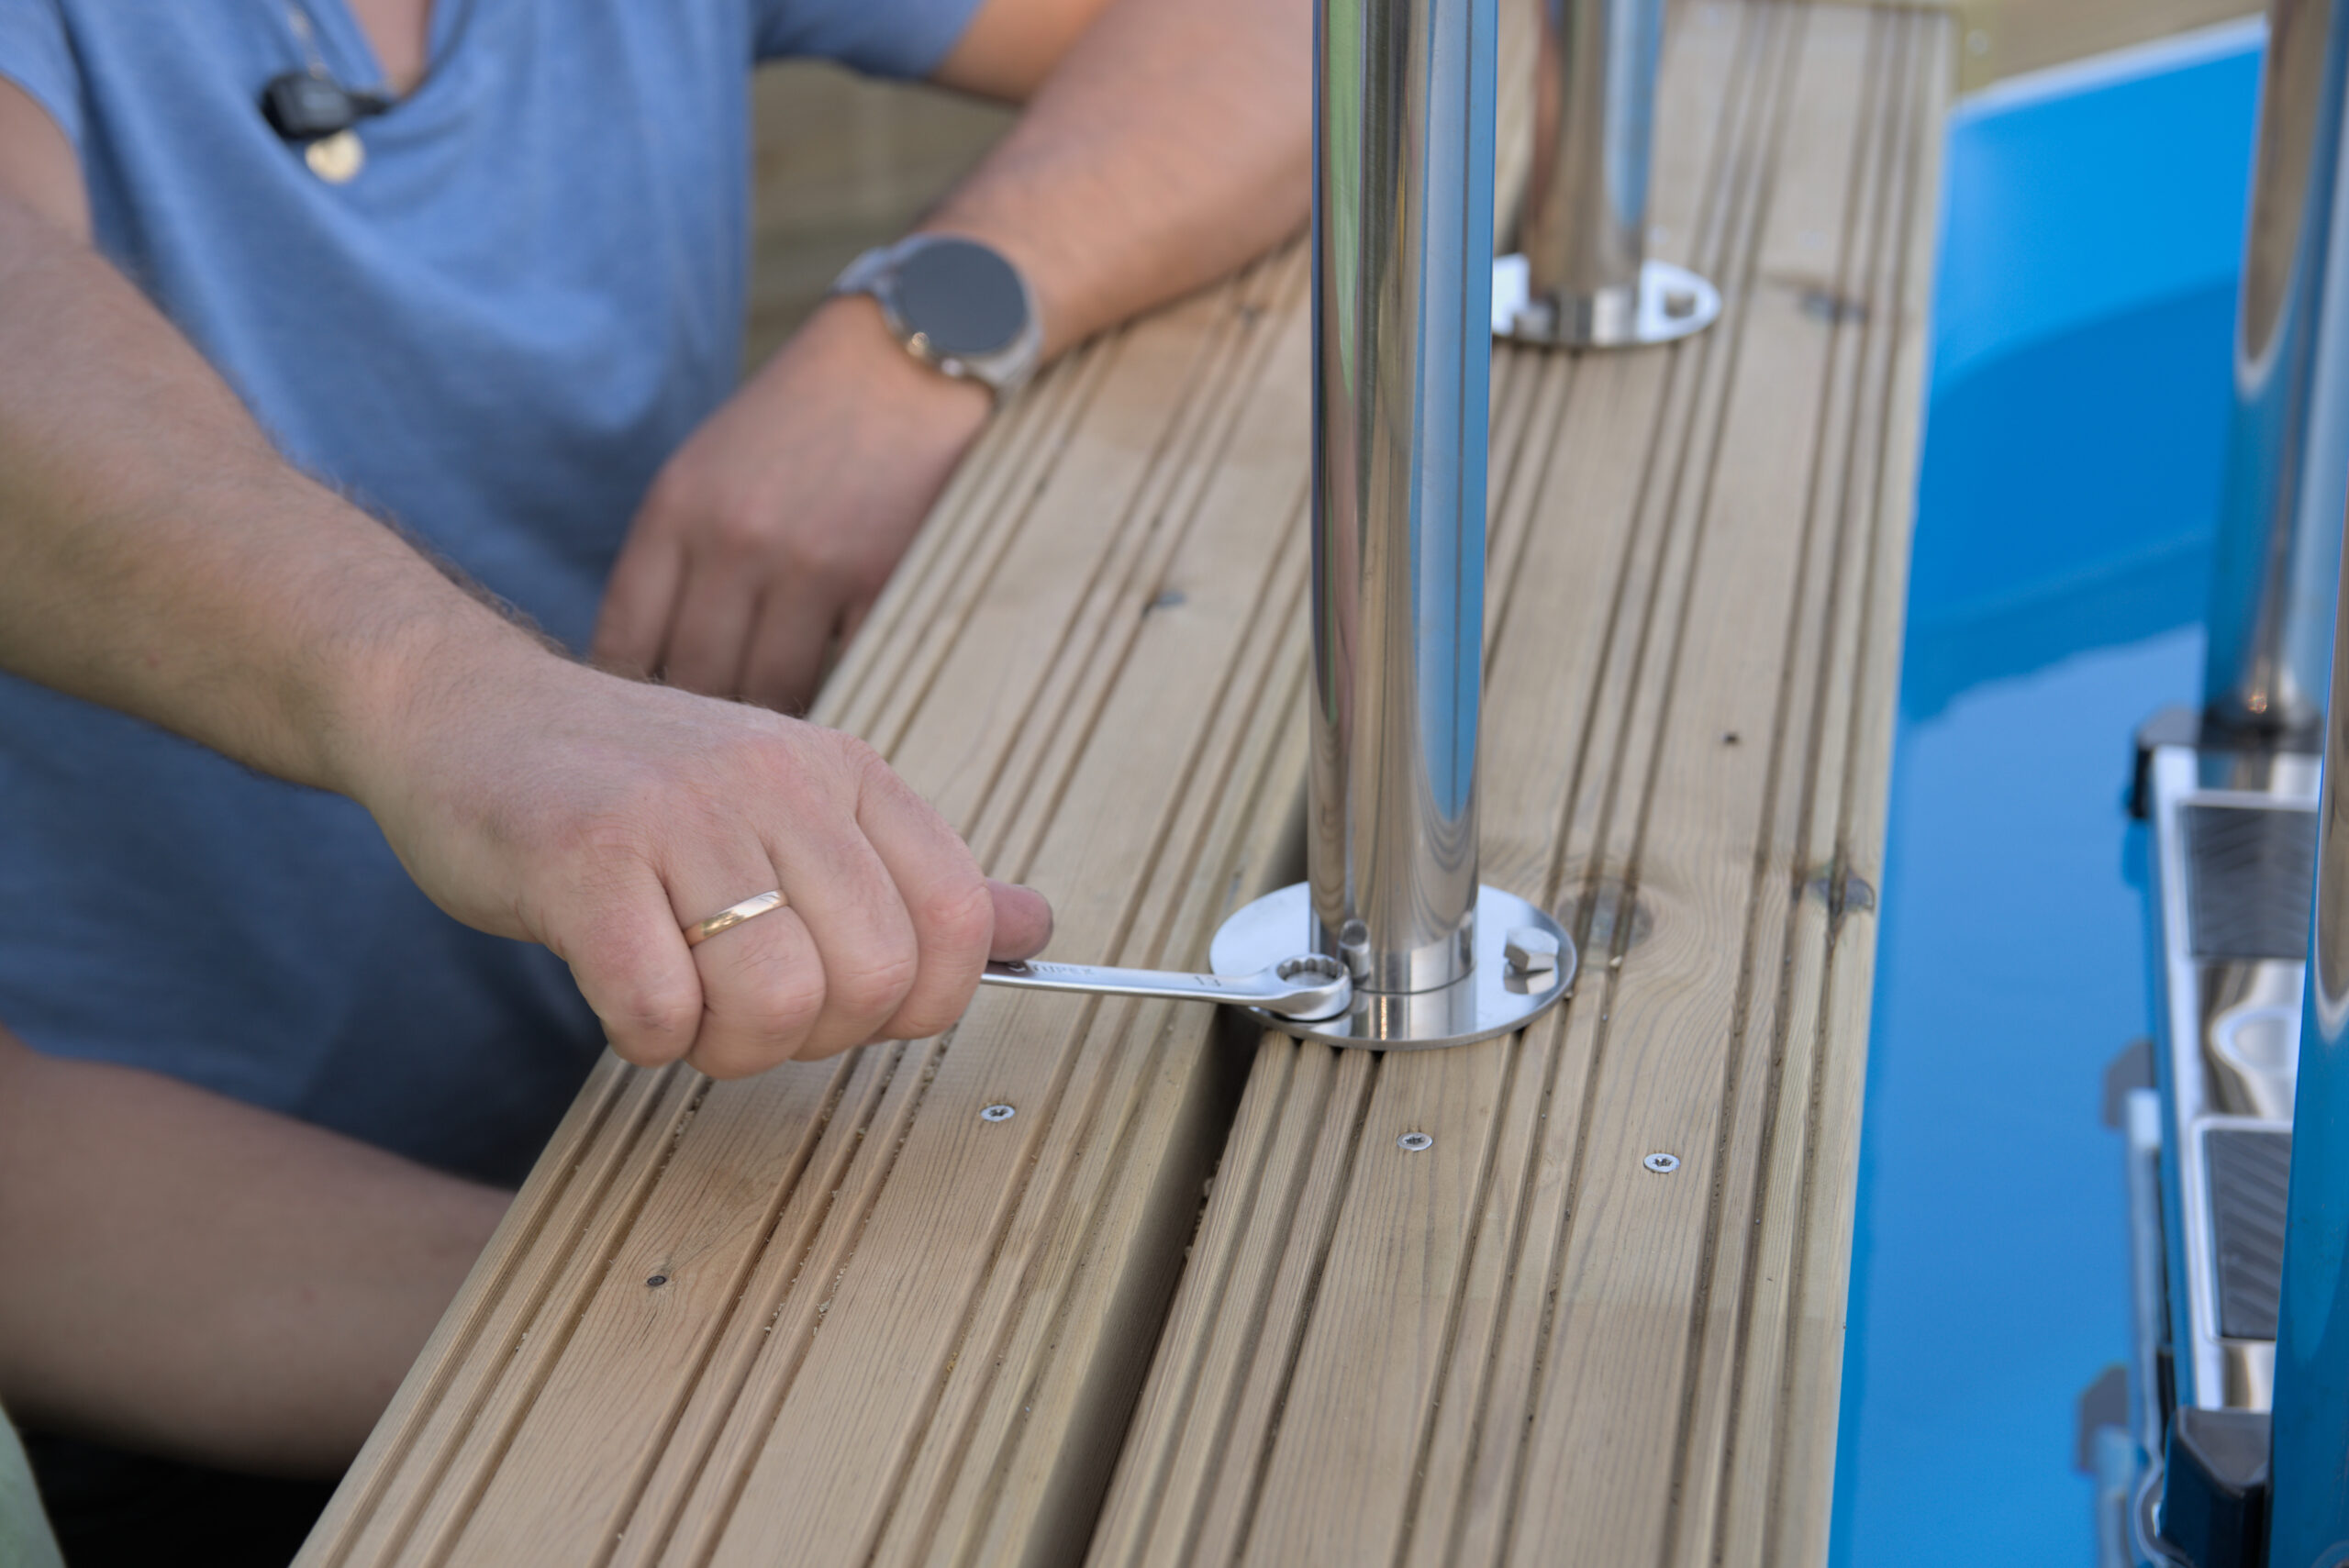
Attaching the interior ladder
Installing a wooden pool may seem like a daunting task, but with the right preparation and careful attention to each step, it can be a rewarding and manageable project. A well-built wooden pool will not only enhance the beauty of your backyard but also provide a relaxing retreat for family and friends to enjoy for years to come. At Abatec Pools, we’re here to help with any questions or guidance you may need throughout your installation process.
Follow us on social media
